Website QA Testing: 4 Best Practices + Website QA Checklist
Here's how you can implement effective QA testing on any website, whether it's a SaaS, an e-commerce site, or plain HTML.
Ensuring your website is both responsive and functional is vital for engaging your audience. As attention spans continue to shrink, even a small glitch in the user experience could make visitors leave or result in lost revenue. By performing QA testing, you ensure that your visitors will have a positive experience from day one.
In this post, we’ll share:
- What website QA testing is and why it matters
- 4 best practices
- How to implement it with a website QA checklist
Without further ado, let’s dive in.
QA for Websites: What is It Why Does It Matter?
Website QA testing is probably already familiar to you, but let's cover the basics to ensure we're on the same page. Website QA testing involves systematically testing your website to identify errors, bugs, issues, or other oversights that might have been missed during the product's design and development. In other words, QA testing guarantees that the product works correctly without many iterations.
According to , 59% of users will leave a website if they have a bad user experience. This could result in a high bounce rate and negatively affect your reputation and SEO rankings. Plus, are unlikely to return to your site.
In addition to improving the functionality of your website, QA testing will:
- Save you time and money since you'll be able to identify problems before they escalate
- Give users a good impression of your brand and product
- Boost user engagement
Moreover, it’s important to note that website QA testing is a continuous and comprehensive process. It isn’t focused on specific issues and should be performed before and after the product’s launch. A good QA website process should clearly define requirements, give testers a good understanding of the features, and provide a roadmap for progress.
4 Best Practices for Effective Website QA Testing
Before we jump into how to implement effective QA testing, we’ll share some best practices to keep in mind in the process.
Establish a formal procedure
Generally, QA testers are busy on multiple simultaneous projects. Therefore, they may overlook certain functionalities or features, which may lead to bypassing bugs in production. We suggest you develop a practical Website QA testing checklist that outlines exactly what to test, check for, and verify. This will also make it easier to onboard new testers.
Documentation is Paramount
As QA testers work on multiple projects, keeping all data and documentation stored and categorized becomes paramount for:
- Having consistent practices among projects
- Retrieve information efficiently
- A smooth handover between testers
- Avoid wasting time thanks to unstructured data
There are multiple tools that can be used for this, such as Google Drive. Unfortunately, as the QA test team expands and more stakeholders get involved, using cloud storage and shared files can become messy. Plus, most testers use screenshots to report issues and bugs, which can also be inconvenient.
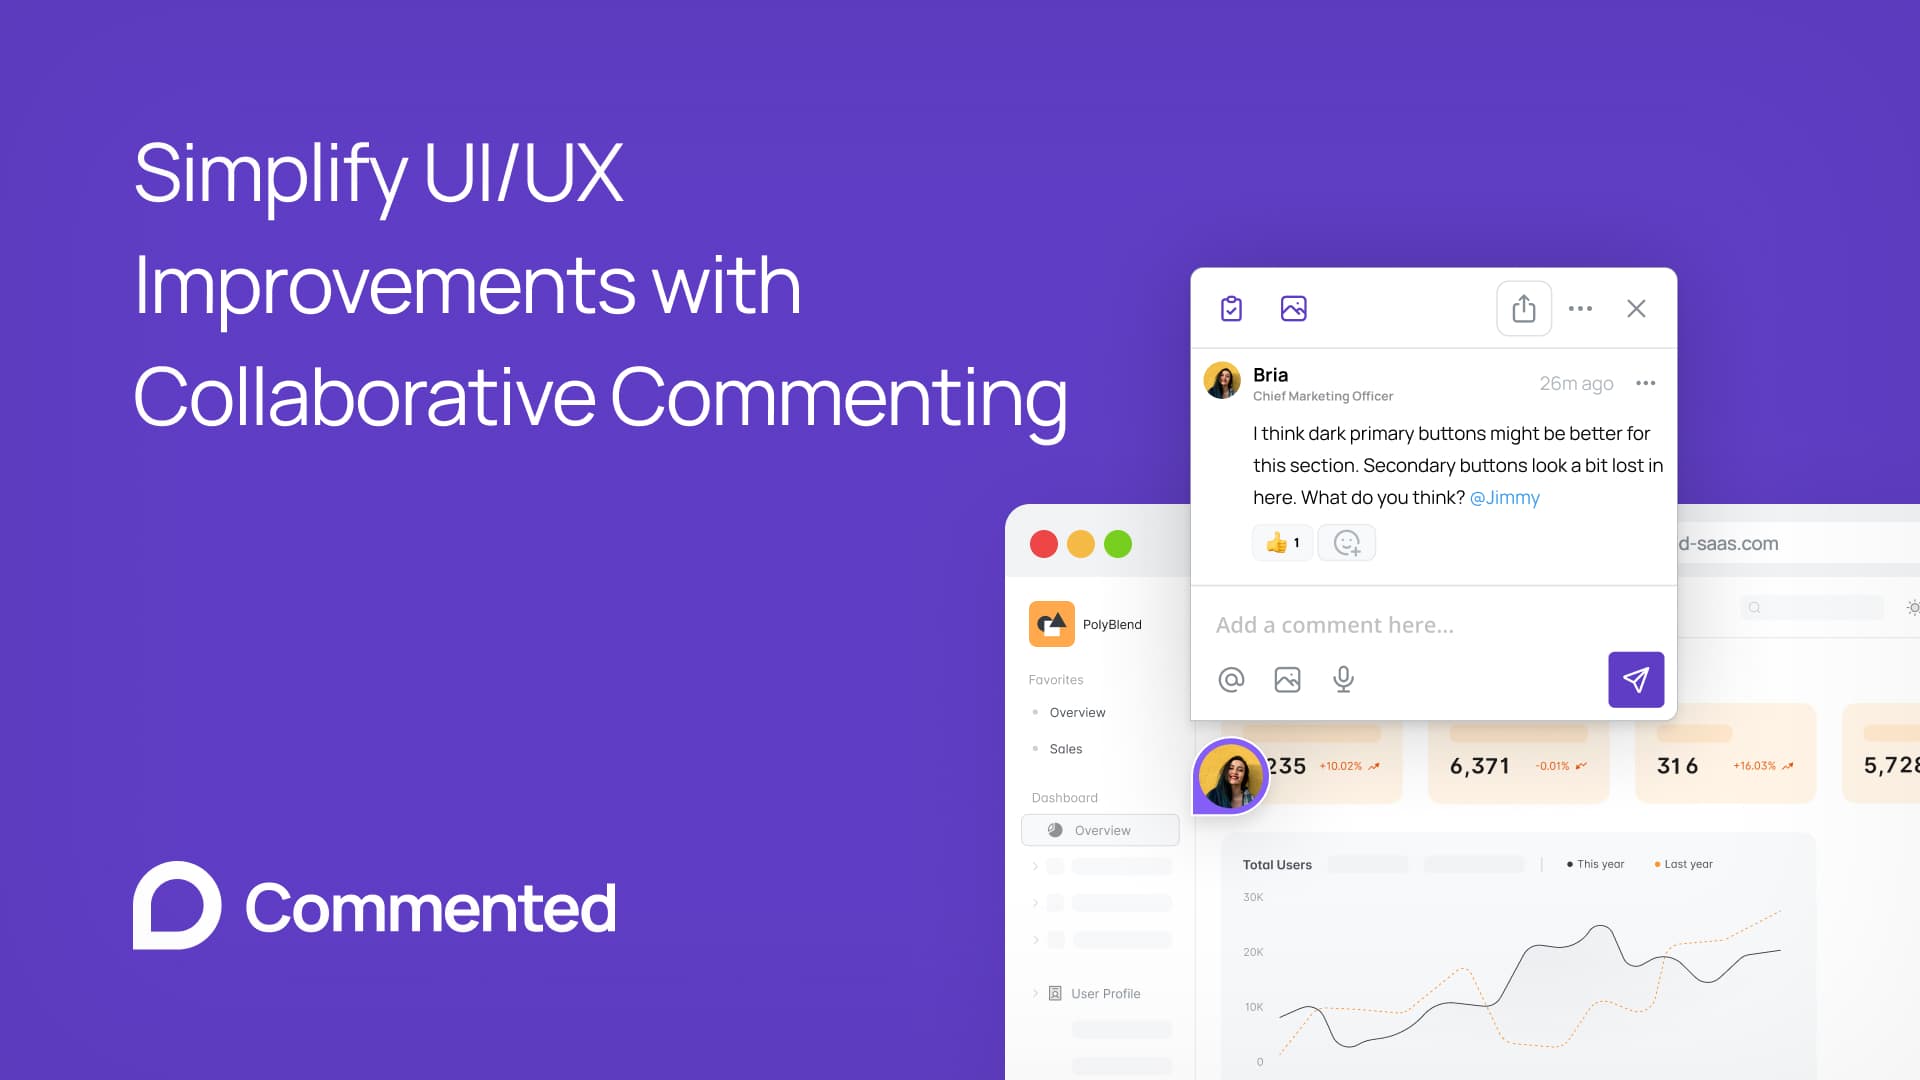
According to Hakan Baybas, “Basically, whenever you receive a screenshot, it doesn't express the thoughts of the person who captured it.” This is why we recommend you implement a website annotation tool, such as Commented.
Hakan Baybas adds, “An image can tell more than a hundred words, and a screenshot with annotations means a million words to convey the feedback. Commented allows you to auto-capture screenshots and enrich them with an integrated annotation tool.”
Consider Your Specific Scenario
Since there’s no one-size-fits-all formula applicable to every scenario, creating a QA process can pose a significant challenge. Therefore, it is essential to thoroughly assess various factors before shaping your approach to QA testing, such as:
- Available resources (e.g. technology stack, budget, etc.)
- Testing policies within your organization
- Business goals
- Current development practices
- Project complexity
- Target audience
- Release procedures
- Your team’s structure
Make QA Testing an Ongoing Process
Avoid delaying testing until the end of the development stage. As previously emphasized, testing should follow each code commit and be integrated throughout every sprint. This way, your team will be able to pinpoint issues at an early stage.
How To Implement Effective QA: Website QA Checklist
If you want to ensure that no crucial aspects are overlooked, a checklist can be your QA team’s best ally.
We suggest you test:
- HTML/CSS
- Performance
- Cookies
- Links
- Security
- Responsiveness
- Functionality
- Forms
- Accesibility
Let’s take a closer look.
HTML/CSS Validation
A validated HTML and CSS code is crucial for:
- Debugging issues
- Ensuring future-proofing
- Simplifying maintenance
- Adhering to best practices
You can find multiple free tools to validate your site just by entering its URL. Alternatively, you can also use browser extensions. The two options will identify validation issues that need to be addressed.
Performance
You should revise how your site handles traffic. You should check its performance during:
- Spikes in traffic (stress testing)
- Gradual increase in workload (load testing)
- Standard workload (stability testing)
- Multiple user logins (concurrency testing)
- An increase in database data (volume testing)
- Prolonged increase in workload (endurance testing)
Some additional performance tests include:
- Page load speed (using a performance testing tool).
- Site performance on slower internet connections.
Cookies
When conducting QA testing for your site's cookies, it's essential to examine different scenarios. This includes testing:
- With both enabled and disabled cookies to ensure seamless functionality.
- That they become inactive after a set period
- That they are encrypted before being saved on a user's device
- Their impact on your product’s security after deleting them
It’s worth noting that if you’re using WordPress, the platform should automatically address the majority of cookie-related issues.
Links
You should check that every link is working and leading to the right URLs. After all, invalid and broken links will harm the user experience as well as your SEO efforts. You can test for broken links by using tools like Ahrefs broken link checker and set up new redirects.
Security
When it comes to your website’s security you should:
- Test your SSL/HTTPS connection. Plus, be sure that all your HTTP traffic is leading to your site’s HTTPS version.
- Verify that invalid usernames and passwords can’t be used to log in
- Ensure CAPTCHAs are working properly
- Prevent users from downloading files from restricted pages
- Verify that passwords can’t be “cracked”
- Check if a user’s session expires after a specific time. For instance, a payment that takes longer than 10 minutes
- Make sure that only authorized users can access specific URLs
Additionally, you could simulate a security breach to see how your site would handle it.
Responsiveness
A seamless experience across devices is very important to . Moreover, 62% of users are less likely to purchase from a brand if their mobile experience is poor.
Checking how your product performs across devices is key. You can test your product’s responsiveness with:
- Google’s mobile-friendly test, which will provide a list of issues you can fix.
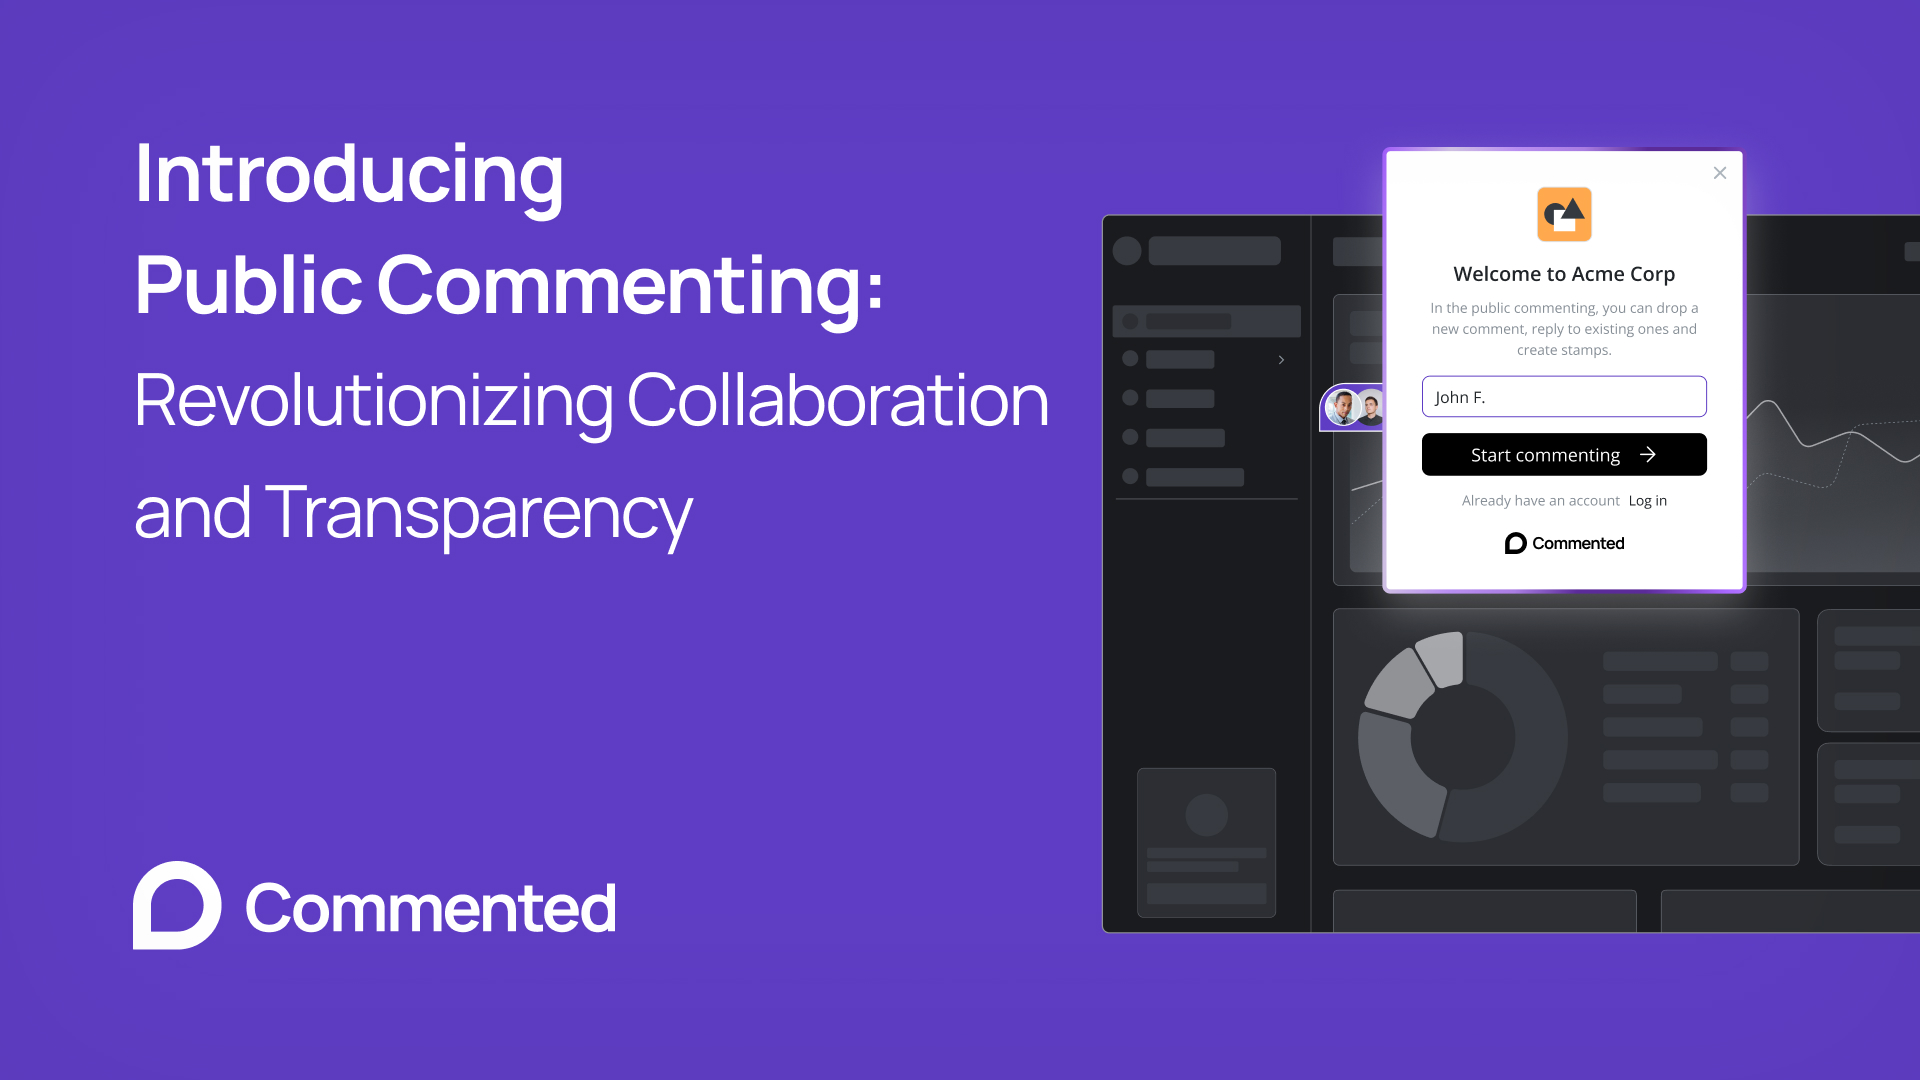
- An annotation tool like Commented, testers can explore your site on multiple devices while leaving annotations on specific QA issues
Additionally, during your QA testing across devices and browsers, you should mind about:
- The look of all images, are they fully visible?
- The space to click links and buttons, is it enough?
- The space between items on the screen, are they well distributed?
- Easy access to your business information (i.e. name, email, address, etc.)
- Overall performance
Functionality
Check key functions such as:
- Drop-downs and buttons: Do they work as intended? Do they collect the right information? Do they direct users properly?
- Process flows: How’s your user journey supposed to look like? Is it the journey users actually take? Do they fall through at any stage?
Forms
Verify how your forms perform, this includes:
- Checking data input validity
- Allowed values in each field (e.g. letters or numbers)
- What happens if there’s an invalid input (e.g. error message)
- Making sure that the mandatory fields can’t be left blank
By doing so, you can ensure that the form collects all the needed data in the right format. Plus, you should also verify that the provided instructions are clear.
Accessibility
Ensuring a website is accessible is crucial for:
- Enhancing the user experience for all visitors
- Complying with legal requirements in certain jurisdictions
- Boosting your SEO rankings
To address accessibility, a great starting point is validating your site against the (WCAG). W3C offers a list of tools that can help you test your site, such as WAVE (Web Accessibility Evaluation Tool)
To Conclude:
A website QA process begins when the site requirements are outlined, and continues long after it has been launched and put into use. While this process can be demanding, tools like Commented make it way easier and more insightful.
With Commented:
- Relevant stakeholders can add feedback to your deployed product with just one click
- It is easy to manage all the feedback you receive without spending time organizing it
- Figma, Linear, and Slack are all seamlessly integrated.
Want to try effortless collaboration? Click on ‘try live demo’ below and